


|
Navigation: Toolboxes > Unity Toolbox > Installing |
  
|
To get the Unity Toolbox running, you need a working version of Unity and install a plug-in for the Unity project that you are working on.
Unity is a commercial package by Unity Technologies. You can purchase the commercial Pro version or the free Personal version. There are various videos available on Youtube that show you how to install Unity. Note that the Unity Toolbox has been verified to work with Unity 2018.4, 2019.2 and 2020.3.x (LTS). It is possible that it will work in newer versions of Unity.
The Unity Toolbox comes with a plug-in that has to be installed in Unity. The plug-in is located in the 20-sim installation folder, usually at:
C:\Program Files (x86)\20-sim 5.1\addons\unity\20-sim-unity-toolbox-x.y.z.unitypackage
Here x,y,z are the version number of the plug-in. For every new project in Unity, you have to install the plug-in in your version of Unity:
| 1. | Open Unity and open/start a new (3D) project |
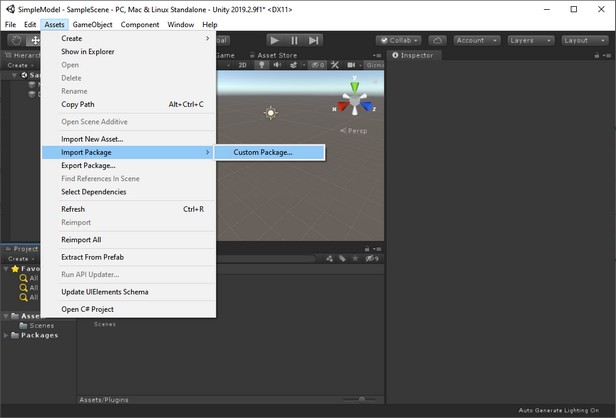
| 2. | From the Assets menu select Import Package and Custom Package. |
The 20-sim Unity Toolbox ready for use.
| 3. | Select the plug-in that is located in the 20-sim installaton folder: C:\Program Files (x86)\20-sim 5.1\addons\unity\20-sim-unity-toolbox-x.y.z.unitypackage. |
| 4. | Click Import. |
| 5. | From the GameObject menu select 20-sim and 20-sim Unity Toolbox. |
Now the plug-in is installed and ready for use.
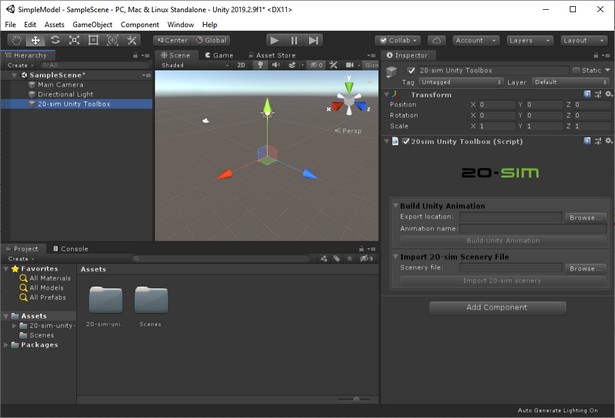
The 20-sim Unity Toolbox ready for use.
In the Hierarchy you will see the 20-sim Unity Toolbox listed. You can start to build your Unity application now.