


|
Navigation: Toolboxes > Unity Toolbox > Importing 3D Scenery |
  
|
3D animations created in 20-sim can be exported to Unity. You first have to create a 20-sim model, simulate it and create a 3D Animation. From the 3D Animation, you can create a scenery file that can be imported in Unity:
| 1. | In 20-sim go to the Simulator and put you mouse pointer on top of the 3D animation. |
| 2. | From the right mouse menu, select Plot Properties. |
| 3. | In the Plot Properties window, select File - Save Scene. |
Now you can open a Unity 3D project and install the 20-sim Unity Toolbox plug-in. When this is done properly, the Inspector at the left will show a 20-sim Unity Toolbox.
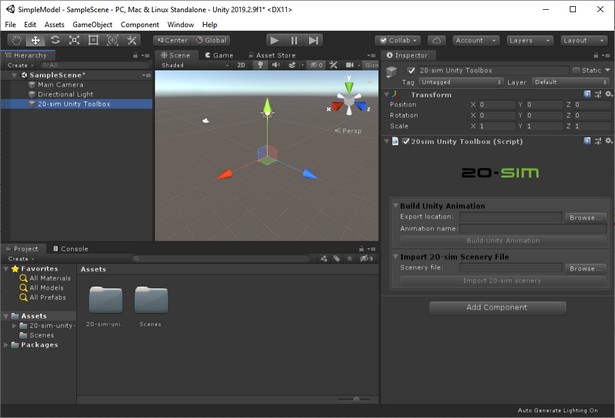
You can now import the 20-sim 3D animation into your Unity project:
| 4. | In the Inspector at the right go to the 20-sim Unity Toolbox and Import 20-sim Scenery File. |
| 8. | Click the Browse button to find the scenery file ScaraRobot.scn. |
| 9. | Click the Import 20-sim Scenery button to import the scenery file. |